
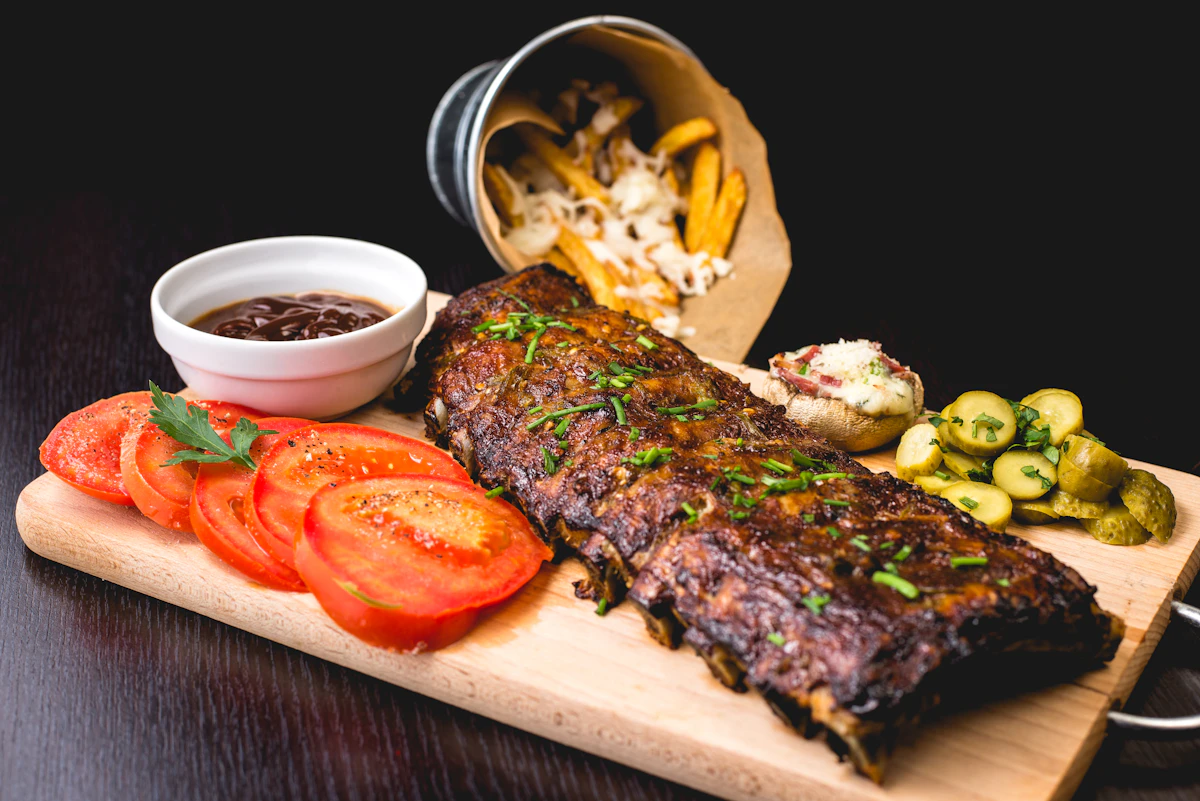
There is perhaps no dish more synonymous with festive celebration, warmth, and culinary tradition than the Classic Honey Glazed Ham. Whether it is the centerpiece of a Christmas feast, an Easter brunch, or a Sunday family gathering, a perfectly baked ham—studded with aromatic cloves and draped in a shimmering, sticky brown sugar glaze—evokes a sense of nostalgia and comfort that few other dishes can match.
Mastering the art of the glazed ham is not merely about following a timer; it is about understanding the balance of flavors, the science of caramelization, and the patience required to transform a simple cut of pork into a glistening masterpiece. In this comprehensive guide, we will explore every facet of this legendary dish, from selecting the right cut of meat to the intricate chemistry of the honey-sugar glaze.
The Anatomy of the Perfect Ham: Selection and Preparation
Before a single clove is pressed into the fat or the oven is preheated, the success of your meal depends on the quality and type of ham you choose. Not all hams are created equal, and understanding the differences is the first step toward greatness.
Choosing Your Cut
- City Ham vs. Country Ham: Most “Classic Honey Glazed” recipes use City Ham. These are wet-cured, usually smoked, and come fully cooked. Country hams are dry-cured and very salty, requiring soaking and different cooking methods. For this recipe, we are focusing on the City Ham.
- Bone-In vs. Boneless: Always opt for bone-in if you want the best flavor and moisture. The bone acts as a heat conductor, helping the ham cook evenly from the inside, and it provides a much more robust pork flavor. Plus, the leftover bone is a goldmine for soups and stews.
- Shank vs. Butt End: The shank (the lower leg) has a classic “ham shape” and is easier to carve. The butt (upper leg) is leaner but has a more complex bone structure that makes carving a bit of a puzzle. For a picture-perfect presentation, the shank end is usually the winner.
- Spiral-Cut vs. Whole: Spiral-cut hams are pre-sliced by the manufacturer. While convenient, they are much more prone to drying out in the oven. A whole, unsliced ham allows you to control the thickness of the slices and keeps the juices locked inside during the long baking process.
The Role of Cloves and Scoring
The visual hallmark of a traditional ham is the diamond pattern scored into the fat, with a whole clove tucked into each intersection. This is not just for aesthetics. Scoring the fat allows the glaze to penetrate deep into the meat rather than just sliding off the surface. The cloves release essential oils during the baking process, infusing the pork with a warm, spicy aroma that cuts through the richness of the fat and the sweetness of the sugar.
Ingredient Specifications (Form Shape)
To ensure your shopping and preparation are flawless, here is the detailed breakdown of every component required for this recipe.
| Category | Ingredient | Specification / Form | Quantity | Purpose |
|---|---|---|---|---|
| Main Protein | Smoked Ham | Bone-in, Fully Cooked, Shank End | 8–10 lbs | The foundation of the dish. |
| Aromatic | Whole Cloves | Dried, High-quality buds | 1/4 Cup | Infuses warmth and spice; visual appeal. |
| Base Sweetener | Brown Sugar | Dark Brown (packed) | 1.5 Cups | Provides molasses depth and caramelization. |
| Liquid Gold | Honey | Clover or Wildflower (Liquid) | 1/2 Cup | Adds floral notes and sticky texture. |
| Acid/Brightness | Apple Cider Vinegar | Raw or Filtered | 2 Tbsp | Balances the intense sweetness of the sugar. |
| Zing | Dijon Mustard | Smooth or Grainy | 1 Tbsp | Acts as an emulsifier for the glaze. |
| Warm Spice | Ground Cinnamon | Fine Powder | 1/2 Tsp | Enhances the aroma of the cloves. |
| Depth | Ground Ginger | Fine Powder | 1/4 Tsp | Adds a subtle bite to the glaze. |
| Liquid Base | Apple Juice/Cider | Unsweetened | 1 Cup | Kept in the pan to provide steam and moisture. |
| Finishing | Unsalted Butter | Melted | 2 Tbsp | Adds a velvet sheen to the final glaze. |
Step-by-Step Culinary Instructions
Follow these steps with precision. The key to a great ham is low and slow heat initially, followed by a high-heat glazing phase.
Phase 1: Tempering and Pre-Prepping
- Bring to Room Temperature: Remove the ham from the refrigerator at least 1.5 to 2 hours before baking. If you put a cold ham directly into a hot oven, the outside will dry out before the center reaches a safe temperature.
- Preheat the Oven: Set your oven to 325°F (163°C). This moderate temperature ensures the ham heats through without the exterior becoming tough.
- Prepare the Roasting Pan: Place a sturdy roasting rack inside a large pan. Pour the apple juice (or water) into the bottom of the pan. This creates a humid environment to prevent the meat from drying.
Phase 2: Scoring and Studding
- Trim Excess Skin: If your ham has a thick layer of tough outer skin (the rind), trim most of it away, leaving about 1/4 to 1/3 inch of fat cap.
- The Diamond Pattern: Use a sharp utility knife to score the fat in a diamond pattern. Cut lines about 1 inch apart and roughly 1/4 inch deep. Do not cut into the meat itself—only the fat.
- Add the Cloves: Insert one whole clove into the center of each diamond or at the intersections of the lines. Press them in firmly so they stay put during the basting process.
Phase 3: The Initial Bake
- Wrap in Foil: Cover the ham loosely with heavy-duty aluminum foil. Ensure the foil is sealed around the edges of the pan to trap the steam.
- The First Roast: Place the ham in the oven. Rule of thumb: Bake for 12–15 minutes per pound. For a 10lb ham, this will be roughly 2 to 2.5 hours.
- Check Internal Temp: Use a meat thermometer to check the thickest part of the ham (avoiding the bone). You want the internal temperature to reach 110°F (43°C) before you start the glazing process.
Phase 4: Crafting the Honey-Brown Sugar Glaze
- Combine Ingredients: In a small saucepan over medium heat, combine the brown sugar, honey, apple cider vinegar, Dijon mustard, cinnamon, and ginger.
- Simmer: Whisk constantly until the sugar has completely dissolved and the mixture begins to bubble. Let it simmer for 2–3 minutes until it thickens slightly into a syrup consistency.
- Add Butter: Stir in the melted butter at the very end. This gives the glaze a professional, glossy finish.
Phase 5: The Glazing Ritual
- Increase Heat: Remove the ham from the oven and increase the oven temperature to 400°F (205°C).
- Uncover: Carefully remove and discard the aluminum foil.
- First Coat: Using a pastry brush, generously apply about 1/3 of the glaze over the entire surface of the ham, ensuring it gets into the scored grooves.
- Bake and Repeat: Return the ham to the oven (uncovered). Every 10 minutes, pull the ham out and apply more glaze. Repeat this 3 times. The high heat will cause the sugars to caramelize and form a dark, sticky crust.
- Final Temperature: The ham is done when the internal temperature reaches 140°F (60°C) and the exterior is a deep mahogany brown.
Phase 6: The Rest and Carve
- The Rest Period: This is the most ignored yet most vital step. Transfer the ham to a carving board and tent it loosely with foil. Let it rest for at least 20–30 minutes. This allows the juices to redistribute, ensuring every slice is moist.
- Carving: Cut slices against the grain, using the bone as your guide. If using a shank end, cut around the center bone to release large, beautiful slabs of meat.
The Science of Flavor: Why This Recipe Works
To truly appreciate this dish, we must look at the culinary chemistry happening inside the oven.
The Maillard Reaction and Caramelization
When you apply the brown sugar and honey glaze to the ham at high heat, two distinct processes occur. The Maillard Reaction is the chemical reaction between amino acids (from the pork) and reducing sugars. This creates the savory, complex “browned” flavors. Simultaneously, Caramelization occurs as the sugar itself breaks down under heat, creating the sweet, nutty, and slightly bitter notes that define a classic glaze.
The Role of Acid and Salt
Ham is inherently salty due to the curing process. If you only added sugar, the dish would be cloying and one-dimensional. The addition of Apple Cider Vinegar and Dijon Mustard provides essential acidity. This acid cuts through the fat and the sugar, brightening the overall flavor profile and making the dish more palatable.
Why Cloves?
Cloves contain high concentrations of eugenol, a compound that is both aromatic and slightly numbing. When heated, eugenol permeates the fat of the ham. It provides a “warming” sensation that complements the sweetness of the honey. Furthermore, cloves have antimicrobial properties, which is historically why they were used in meat preservation before modern refrigeration.
Essential Tools for Success
You don’t need a professional kitchen, but having the right tools makes the process significantly easier:
- A Heavy Roasting Pan: A thin pan will cause the drippings to burn, creating smoke in your kitchen. A heavy-bottomed pan distributes heat evenly.
- A Meat Thermometer: This is non-negotiable. Overcooking a ham by even 10 degrees can turn it from juicy to “pork jerky.” Digital probe thermometers that stay in the meat while it cooks are the best.
- A Long Carving Knife: A sharp, thin-bladed carving knife (or an electric knife) allows for thin, uniform slices that look beautiful on the plate.
- A Pastry Brush: Silicone brushes are heat-resistant and easy to clean, but natural bristle brushes hold more glaze.
Pairing Suggestions: Completing the Feast
A honey-glazed ham is a dominant flavor on the plate, so your side dishes should provide balance through texture and contrasting flavors.
Classic Sides
- Scalloped Potatoes: The creamy, cheesy sauce of au gratin or scalloped potatoes is the perfect foil for the salty-sweet ham.
- Green Bean Casserole: The crunch of fried onions and the earthiness of mushrooms complement the ham’s richness.
- Honey-Glazed Carrots: Double down on the honey theme with carrots roasted in a similar glaze.
- Dinner Rolls: Soft, buttery yeast rolls are essential for making mini-sandwiches at the table.
Wine and Beverage Pairings
- Riesling: A slightly sweet (off-dry) Riesling is the classic pairing. Its high acidity and fruity notes mirror the apple and honey in the glaze.
- Pinot Noir: If you prefer red wine, go for a light-bodied Pinot Noir. Its cherry undertones and low tannins won’t clash with the saltiness of the pork.
- Hard Apple Cider: For a non-wine option, a dry sparkling apple cider enhances the fruit notes used in the baking process.
Storing and Reusing Leftovers: The Second Act
One of the best things about a 10-pound ham is the leftovers. If stored correctly, ham can be the base for a week’s worth of incredible meals.
Storage Safety
- Refrigeration: Ham should be carved off the bone and stored in airtight containers or heavy-duty zip-top bags. It will stay fresh for 3 to 5 days.
- Freezing: Ham freezes exceptionally well. Wrap portions in plastic wrap and then foil. It will maintain quality for up to 2 months.
Creative Leftover Ideas
- The Ultimate Split Pea Soup: Use the ham bone! Simmer the bone with dried split peas, carrots, celery, and onions for several hours. The marrow and remaining meat will create a thick, smoky soup that is unparalleled.
- Ham and Gruyère Croque Monsieur: Elevate your grilled cheese game by using thick slices of honey-glazed ham, Dijon mustard, and a rich béchamel sauce.
- Breakfast Hash: Dice the ham and sauté it with crispy potatoes, peppers, and onions, topped with a poached egg.
- Ham and Pineapple Fried Rice: The sweet glaze on the ham makes it a perfect candidate for Asian-inspired fried rice, where it pairs beautifully with soy sauce and fresh pineapple.
Frequently Asked Questions (FAQ)
Q: Can I use a boneless ham for this recipe? A: Yes, but keep in mind that boneless hams are often processed (pressed together). They cook faster and lack the depth of flavor provided by the bone. Reduce your initial baking time and monitor the temperature closely.
Q: What if I don’t have whole cloves? A: You can substitute with 1/2 teaspoon of ground cloves added directly into the glaze. You won’t get the iconic “diamond and stud” look, but the flavor will still be present.
Q: My glaze is burning in the bottom of the pan! What do I do? A: This happens if the pan runs dry. If you see the drippings turning dark and smelling burnt, add another 1/2 cup of water or apple juice to the pan. This will dilute the sugars and stop the burning.
Q: Is it necessary to baste? A: Basting is what creates the “crust.” If you only glaze once, you will have flavor, but you won’t have that thick, lacquered texture that makes a holiday ham so special.
Q: Can I make the glaze in advance? A: Absolutely. You can make it up to 3 days in advance. Just store it in the fridge and gently reheat it on the stove when you’re ready to use it, as it will solidify when cold.
The Cultural Heritage of the Holiday Ham
The tradition of the glazed ham reaches back centuries. In many European cultures, the “Yule Boar” was a centerpiece of winter solstice celebrations. As pigs were easier to keep and cure than cattle, ham became the meat of the people. The addition of cloves and sugar was once a sign of extreme wealth, as spices from the East and sugar from the Caribbean were luxury goods. Today, while these ingredients are accessible to all, the dish still carries that “royal” feeling, making any dinner feel like a grand occasion.
The honey-glazed ham is more than just a recipe; it is a ritual. It is the sound of the knife scoring the fat, the scent of cloves filling the house, and the sight of a golden-brown roast being carried to the table. By following this guide, you aren’t just making dinner; you are continuing a legacy of hospitality and culinary excellence.
Final Pro-Tips for the Aspiring Chef
- The “Secret” Ingredient: A splash of bourbon or dark rum added to the glaze can provide a smoky, adult complexity that guests will find intriguing but won’t quite be able to identify.
- Don’t Over-Clove: While they are beautiful, cloves are very strong. If you put too many, the flavor can become medicinal. Stick to one clove per diamond.
- Watch the Sugar: Sugar burns at 350°F (177°C). This is why we do the long roast at 325°F and only bring it up to 400°F for short bursts during the glazing phase. Be vigilant during those last 30 minutes!
With this exhaustive guide, you are now equipped to create a Classic Honey Glazed Ham that will be talked about for years to come. Enjoy the process, savor the aromas, and most importantly, enjoy the feast!